
User guide
How to use Lookup
Lookup is personal indicator research — paste an IP, domain, URL, hash, review vendor context and a transparent score, ask the investigation assistant, and export or share a report. This guide covers the full path from signup to daily use.
Get started
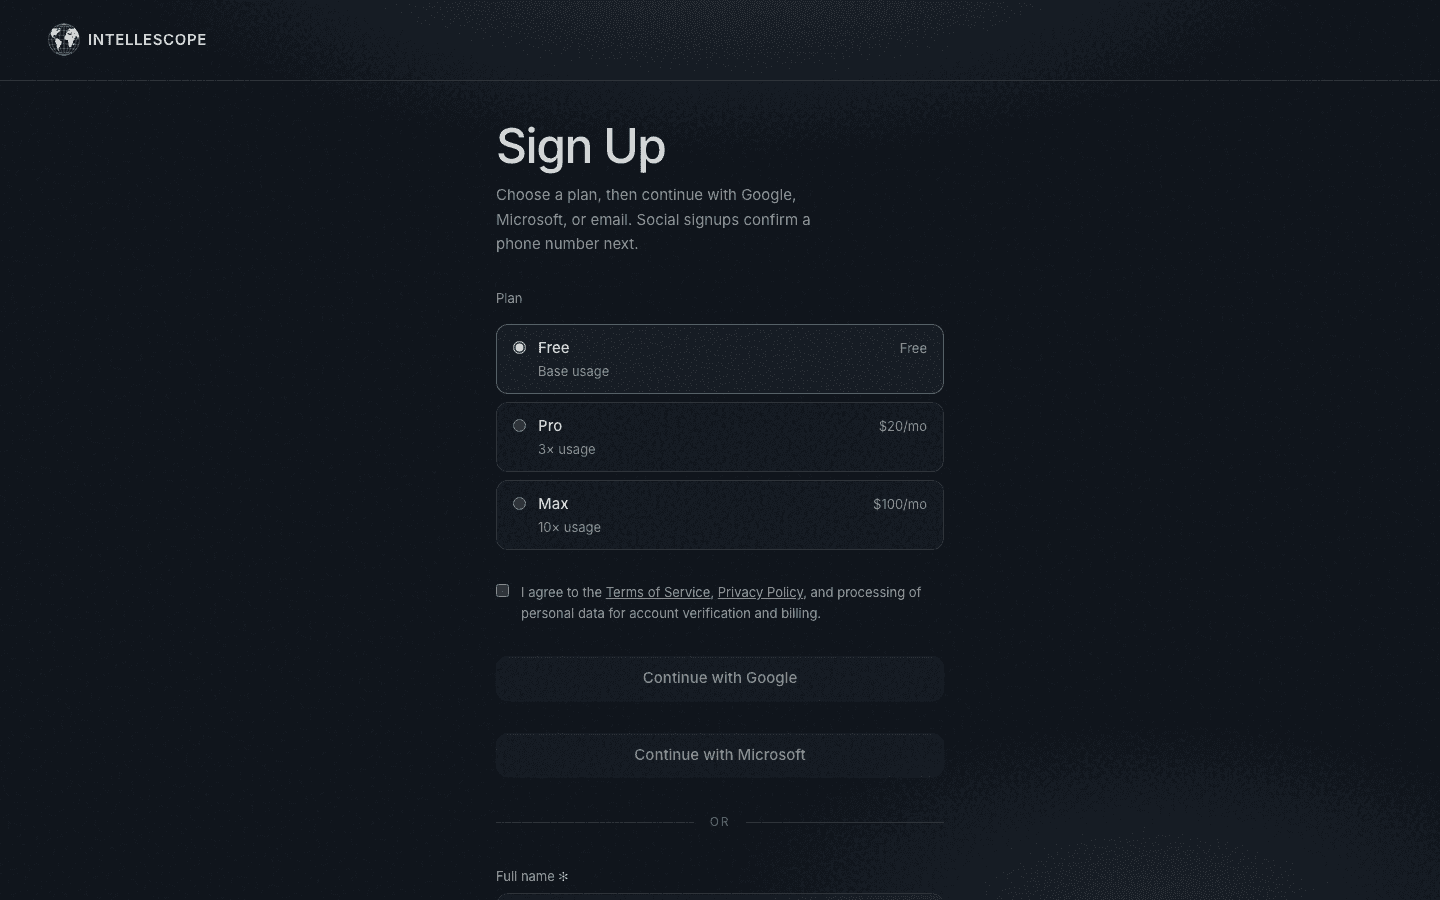
- 1Create an accountGo to Sign up. Choose Free, Pro, or Max, accept Terms and Privacy, then continue with Google, Microsoft, or email.
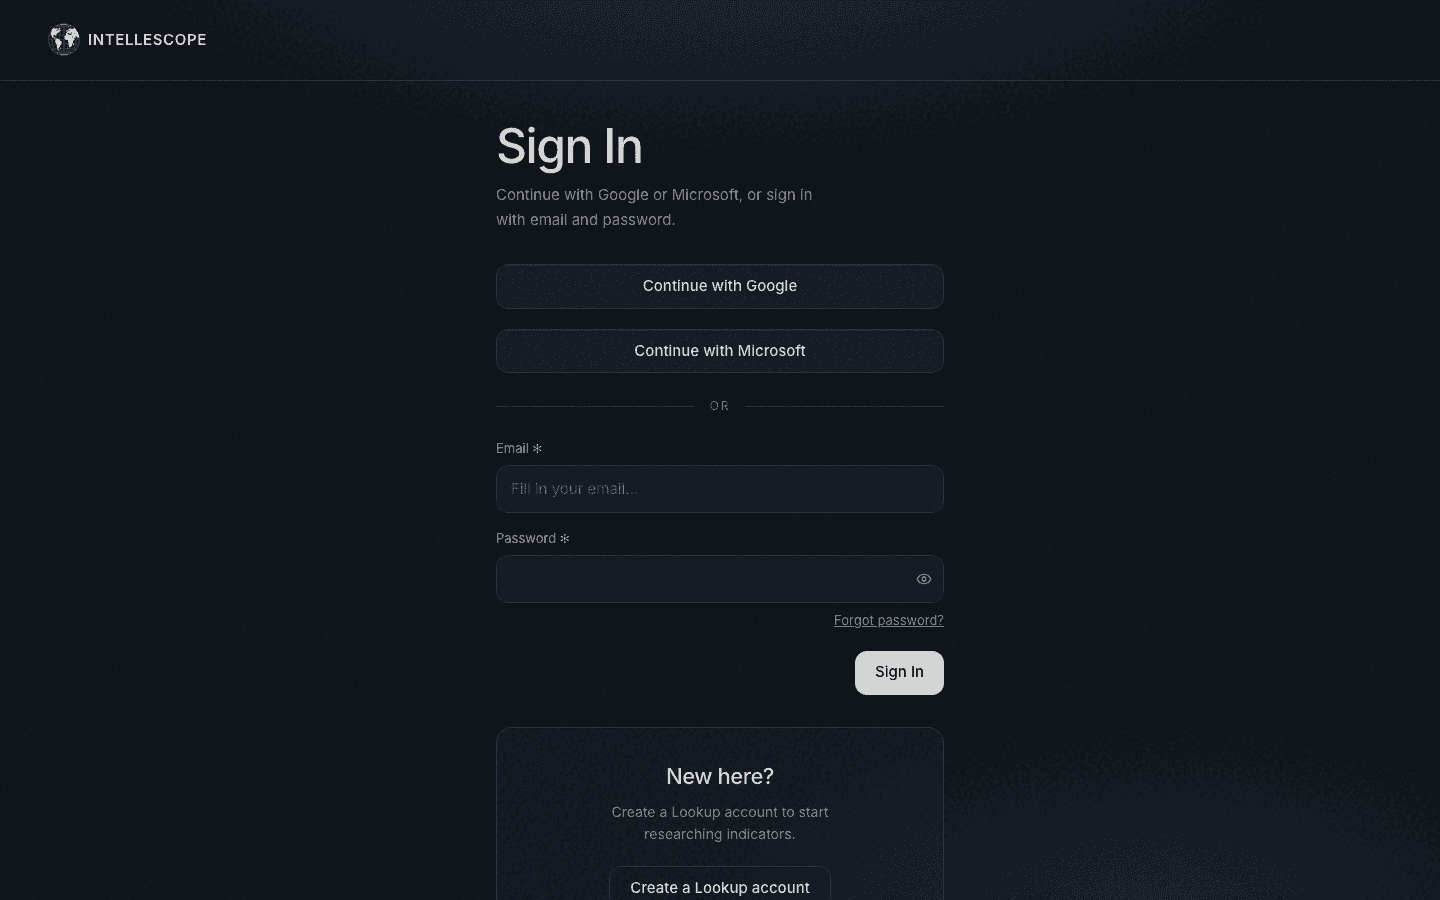
- 2Or sign inFrom the landing page, use Sign In. Lookup sign-in is separate from the enterprise platform.
- 3Open LookupAfter authentication you land on Lookup. The first visit may show a short welcome checklist — choose Start researching when you are ready.
Verify your account
Before you can research indicators, Lookup asks you to verify recovery contact details. This protects your account and unlocks the workspace.
- Email signup — confirm the link in your inbox and/or complete the phone code when prompted.
- Google or Microsoft signup — add and confirm a phone number on the verify screen.
If you signed up for a paid plan, billing completes after verification. You can review plan and usage anytime from Account.
Run your first lookup
- 1Enter an indicatorIn the top search bar, paste a single value — or several values separated by commas for a bulk run.
- 2Press EnterLookup opens a session for that indicator (or a bulk results view). Prior lookups appear in the left History panel so you can reopen them later.
- 3Watch usageDaily quotas reset at 00:00 UTC. If the search bar says usage is exhausted, wait for reset or upgrade under Plan & usage.
Read a result
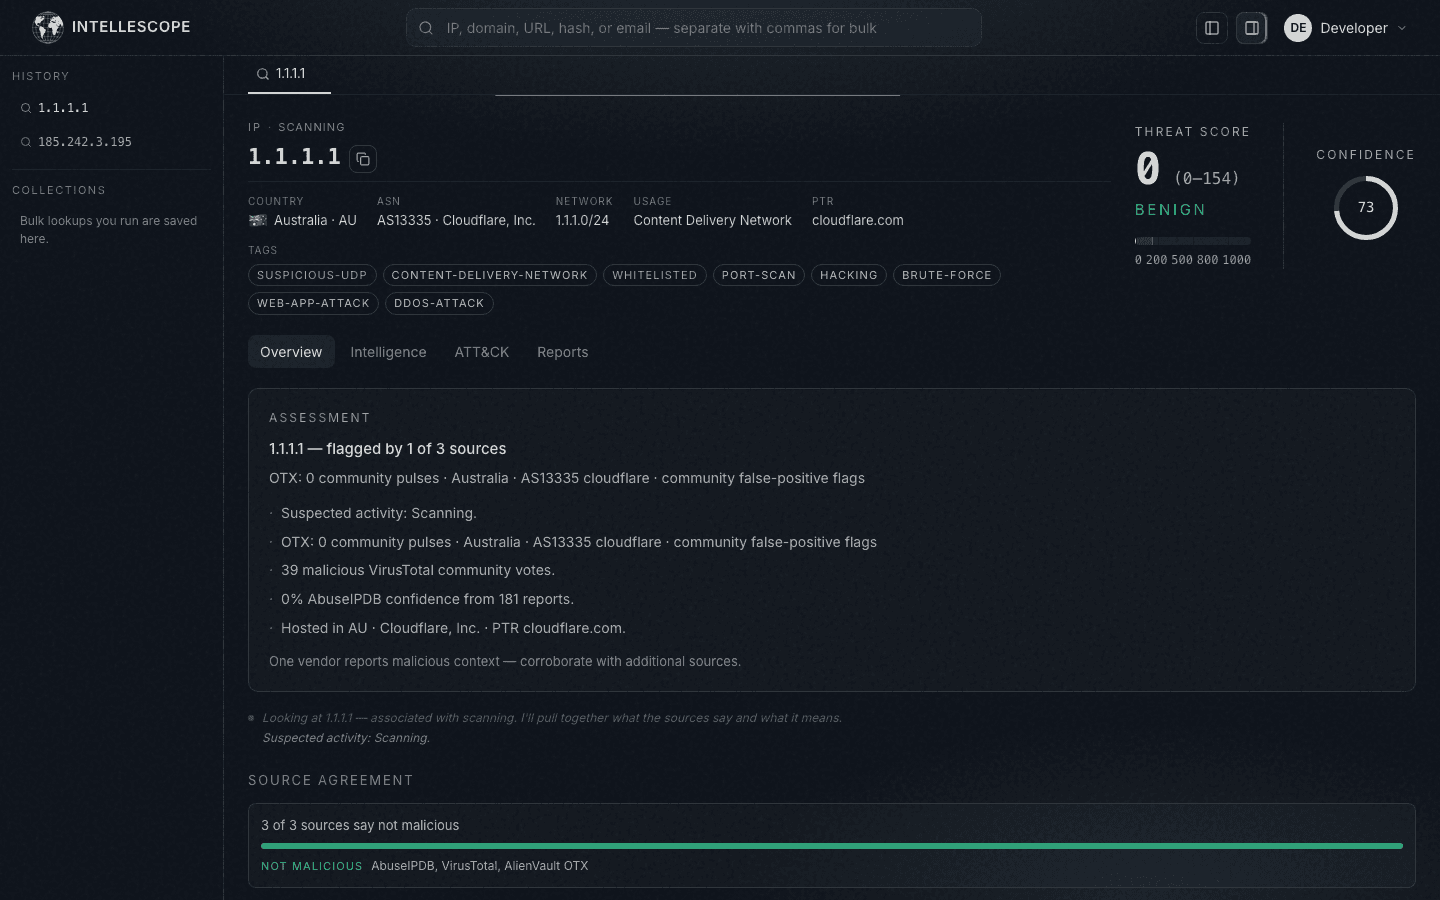
Each lookup opens a detail view. Work left to right through the tabs:
- Overview — threat score, assessment, community remarks, and your notes.
- Intelligence — related indicators and source resources. Use Refresh from sources when your plan includes refreshes.
- ATT&CK — MITRE technique context tied to the session.
- Reports — generate, preview, download, or share a report (see below).
Scores and vendor claims are presented for you to inspect — Lookup does not auto-publish analytical conclusions on your behalf.
Investigation assistant
Open the Investigation assistant from the top bar (right rail). Ask about the open lookup, compare two indicators, refresh enrichment, or request cited web context.
- Starter prompts appear until you ask your first question.
- Installed Skills can load a playbook when your question matches (slash name or description overlap).
- The assistant stays scoped to research — it will not invent findings or act as your enterprise workbench.
- Agent turns count toward your daily Lookup usage pool.
Reports & sharing
- 1Open the Reports tabOn an indicator session, choose Reports, set TLP if prompted, and generate.
- 2ExportDownload PDF, Word, STIX, or ATT&CK Navigator formats when offered.
- 3ShareCreate a share link for a read-only report page. Recipients can open the shared report without your full account history.
Report generation counts against your daily report quota.
Plan, usage & settings
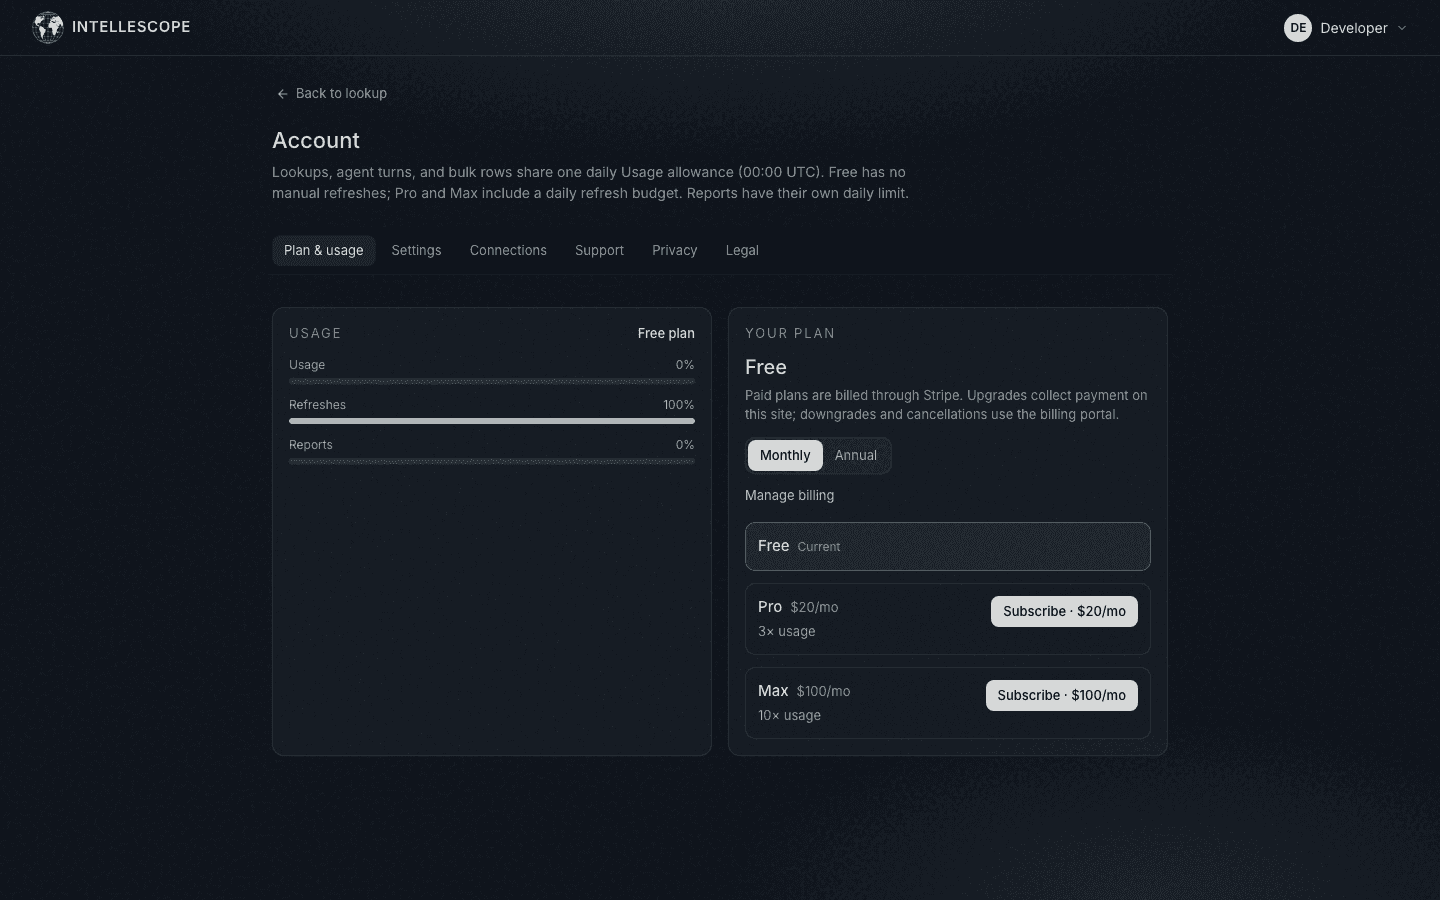
- Plan & usage — meters for lookups, refreshes, reports, and agent activity; upgrade Free ↔ Pro ↔ Max.
- Settings — name, password, language, and email notification preferences.
- Connections — research connectors and Skills for the Investigation assistant.
- API & MCP — personal tokens and the remote MCP endpoint (Remote MCP docs).
- Support — email support and FAQ.
Ready to research?
Open Lookup or create an account to follow this guide in the product.